Before you start
You need:
- Workflows enabled for your organization. See Enable workflows for your org.
- Slack connected. See Slack.
- A test meeting you can mark as no-show (or you can execute the workflow with fake data using the built-in Run workflow button — we'll cover that below).
This whole walkthrough takes about 10 minutes.
Step 1 — Create a new workflow
- In the left navigation, click Workflows.
- Click New workflow at the top left of the list.
- Name it No-show Slack alert and click Create.
You land in an empty editor with the Add Node dialog opened.
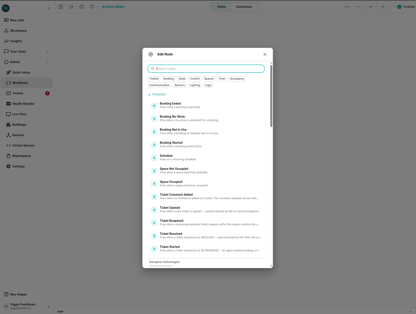
Step 2 — Add the trigger
- In the node picker, notice the Triggers category header..
- Click Booking no-show to add it to the canvas.
- Double click the node to open its settings. This trigger has no configuration; close the panel.
The trigger node fires every time a booking in your org is marked no-show.
Step 3 — Add a condition
We only want alerts for auto-booked meetings (those reserved by the system, not by a human).
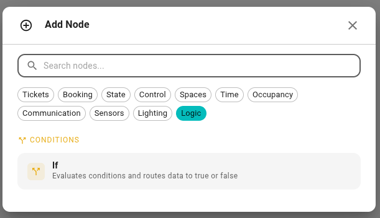
- In the top right of the editor, click the plus sign to Add node.
- In the picker, navigate to Conditions or click the Logic filter pill.
- Click the If entry to add it to the workflow.
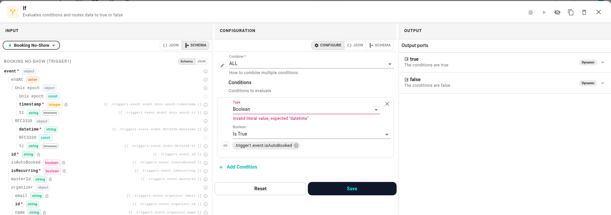
- Draw an edge from the trigger's output to the If node's input.
- Double Click the If node. In its settings, add a condition:
- Type: Boolean
- Operation: boolean is equal to.
- Value: click the data reference icon and click trigger → event → isAutoBooked.
- Click Save to update the configuration.
The If node routes "yes" matches out one port and "no" matches out another.
![]()
Step 4 — Add the Slack action
- In the Add Node dialog, search for Slack.
- Click Send DM to add it to the workflow.
- Draw an edge from the If node's true port to the Send DM node.
- Double click the Send DM node. Set:
- Email: use the data-reference picker and choose trigger → event → organizer → email.
- Content type: text.
- Content:
Your booking "{{ .trigger1.event.subject }}" was marked no-show.Use the{{ }}template syntax to inject fields from the event. Make sure you use the correct trigger id, and that you've selected Template ($tpl) in the input type.
Step 5 — Test without waiting
You don't have to wait for a real no-show. Neowit lets you run the workflow against fake trigger data.
- Click Run workflow in the top toolbar.
- Paste a small sample event into the trigger's input dialog:
JSON

{
  "event": {
    "id": "test-1",
    "subject": "Test meeting",
    "isAutoBooked": true,
    "isRecurring": false,
    "organizer": {
      "id": "123",
      "name": "asd",
      "email": "user@contoso.com"
    },
    "space": {
      "id": "123",
      "name": "name"
    },
    "startAt": {
      "timestamp": 0,
      "kind": "epoch",
      "tz": "Europe/Oslo"
    },
    "endAt": {
      "timestamp": 0,
      "kind": "epoch",
      "tz": "Europe/Oslo"
    },
    "type": "singleinstance"
  }
} - Click Run.
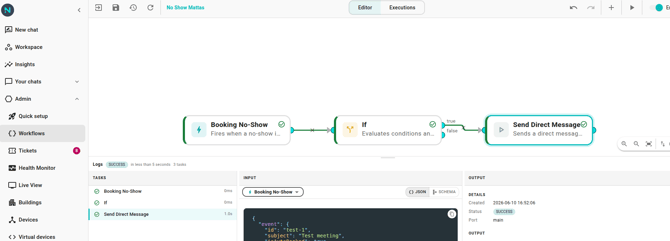
Neowit executes the chain and shows the status of each node. If it all goes green and you see a Slack DM in your inbox within a few seconds, you're done.
Step 6 — Save and enable
To make the workflow run against real events:
- Click Save in the top toolbar.
- In the Save Workflow dialog, turn Enabled on, add a short commit message, and click Save.
The next real no-show event will run this workflow. See Publishing and versions for the full lifecycle, including how to view past versions and revert.
What's next
- Change the condition to filter by floor or time of day — see Conditions.
- Add a second action (e.g. turn a Philips Hue scene red) — see Actions.
- Troubleshoot a workflow that doesn't fire — see Workflow didn't run.