To establish a Smart room, follow these straightforward steps:
- Integrate with your calendar Microsoft graph or google workspace and devices.
- Create a building and upload a blank image.
- Create profiles
Video Guide
Text Guide
Add Workspace
Go to the menu and choose add workspace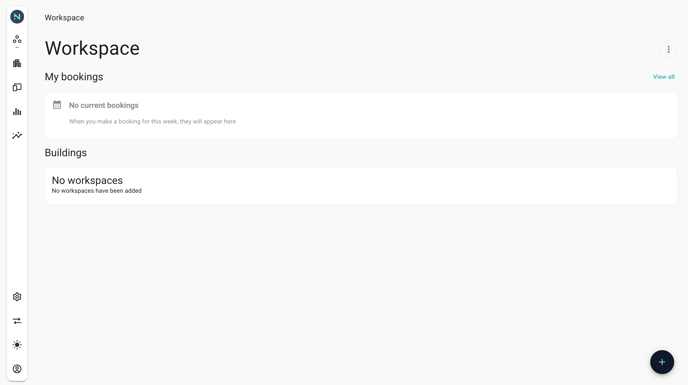
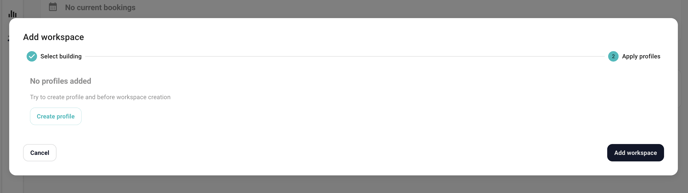
If you haven't yet created a profile, that's the first step. Click on the "Create Profile" button and follow the on-screen instructions to complete the process. Once your profile is set up, you can proceed to select a building.
Select building and apply profiles

How to apply profiles
Applying profiles to rooms is simple and straightforward. You can assign a profile to multiple spaces, and modifying these assignments is just as effortless.
- Resources: list of all areas/rooms you have created
- Profiles: List of all profiles you have create
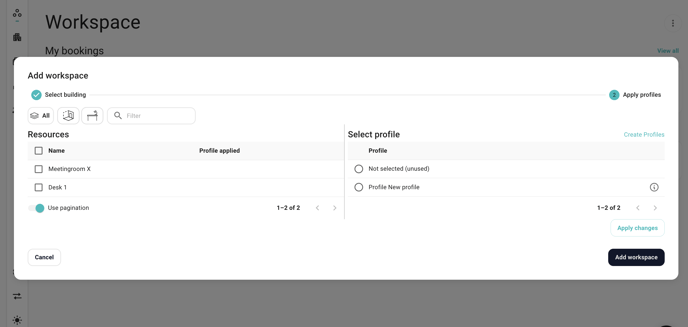
- Select all resources that will share the same profile
- Choose which profile and apply changes.
- Upon updating the profile assigned, the relevant changes will be reflected in the central column.
- Click add workspace


Well done! You have now made a smart room.
Now you can sync your calendar resource to the rooms and set up insights report.